Netgear Dynamic DNS
Something that makes it incredibly difficult to host your own websites at home is that the IP address of your home is most likely dynamic. It can change depending on time and when the router reboots. Most providers where I live won’t assign a static IP unless you are a business. The only way to solve this is to setup DDNS (Dynamic DNS). The website noip.com makes it free to implement this solution.
Requirements
For this tutorial we need a router that supports DDNS. I use a Netgear Nighthawk router. We will be creating an account at noip.com to give us a domain that will be always pointing to our dynamic IP.
Account Creation
Go to noip.com and create an account by clicking “Sign Up”.

Enter your email address and preferred password for this account. You will also want to setup a hostname. For this tutorial we will use testdomain12345.ddns.net.
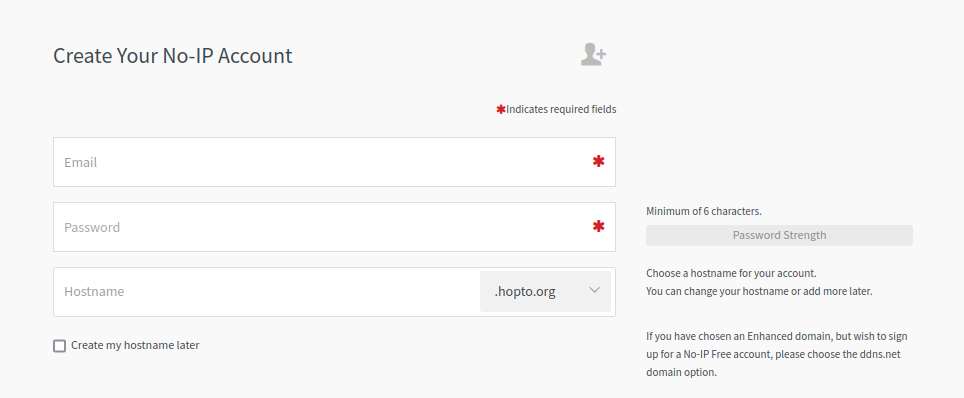
Then click “Free Sign Up”.

After this you will need to verify your email. Once you verify the email, you will need to add a username to your account. When you click the verify link it will bring you to the page where you can do this.

Netgear Setup
These directions may differ depending on the router you have, but this should be possible if DDNS is supported.
To get to these setting on my Netgear router I go to Advanced > Advanced Setup > Dynamic DNS.
Here I check “Enable DDNS” then choose www'No-Ip.com.

Add in the hostname you created and the username/password for your noip account.
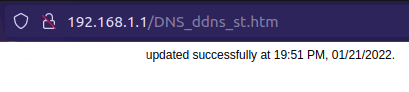
Here I can click “Show Status” and it will update the IP address and report back on if it worked successfully.
Conclusion
From here you can test your hostname from noip.com. For me I was able to ssh into my network with no problem. Please ensure that your network is secure before attempting this. To reach your internal network you may need to do some port forwarding or DMZ setup. I had port forwarding setup ahead of time.