Nextcloud Home Setup
I recently stumbled upon an application called Nextcloud. I was surprised at how easy it was to setup through docker. Something that I have needed for a while now was a place to store shared files at home. Nextcloud helps with this because it allows me to have a login attached to using the share that is easily accessible to my wife and family. In this tutorial I will walk through setting up a basic environment and then supply code for a more thorough setup using terraform.
Docker Compose
Docker compose makes this incredibly easy to get going. You can find the nextcloud examples here. I will be using the base apache example from the docker hub page.
Here is the docker-compose file:
version: '2'

volumes:
  nextcloud:
  db:

services:
  db:
    image: mariadb
    restart: always
    command: --transaction-isolation=READ-COMMITTED --binlog-format=ROW
    volumes:
      - db:/var/lib/mysql
    environment:
      - MYSQL_ROOT_PASSWORD="${MDB_ROOT_PASSWORD}"
      - MYSQL_PASSWORD="${MDB_NEXTCLOUD_PASSWORD}"
      - MYSQL_DATABASE=nextcloud
      - MYSQL_USER=nextcloud

  app:
    image: nextcloud
    restart: always
    ports:
      - 8080:80
    links:
      - db
    volumes:
      - nextcloud:/var/www/html
    environment:
      - MYSQL_PASSWORD="${MDB_NEXTCLOUD_PASSWORD}"
      - MYSQL_DATABASE=nextcloud
      - MYSQL_USER=nextcloud
      - MYSQL_HOST=db
Here you can add in passwords for the nextcloud user and root user in mariadb. I prefer to use environment variables for this. You can have them defined in your shell or you can pass an environment file to docker-compose. The following would work as an environment file. Make sure to have this in the same directory as the docker-compose file.
MDB_NEXTCLOUD_PASSWORD=password1
MDB_ROOT_PASSWORD=password2
Then calling the docker-compose would look like this:
docker-compose up
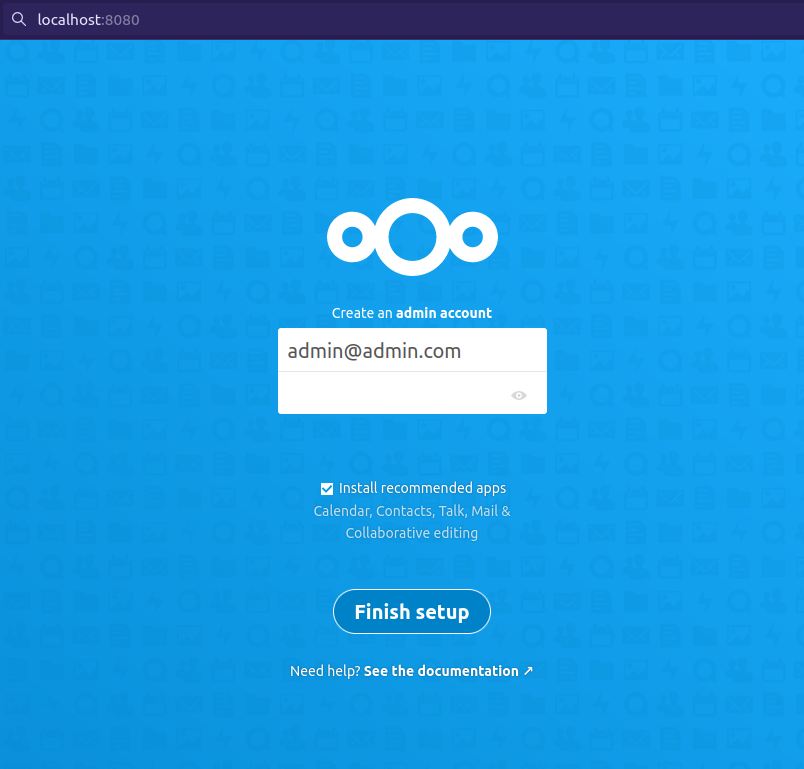
Now we have a nextcloud setup on http://localhost:8080.
First-time Setup
When you load the page you will see the first time setup screen. Here you can type in the admin account and password you want to use. Once that is typed in press “Finish Setup”.
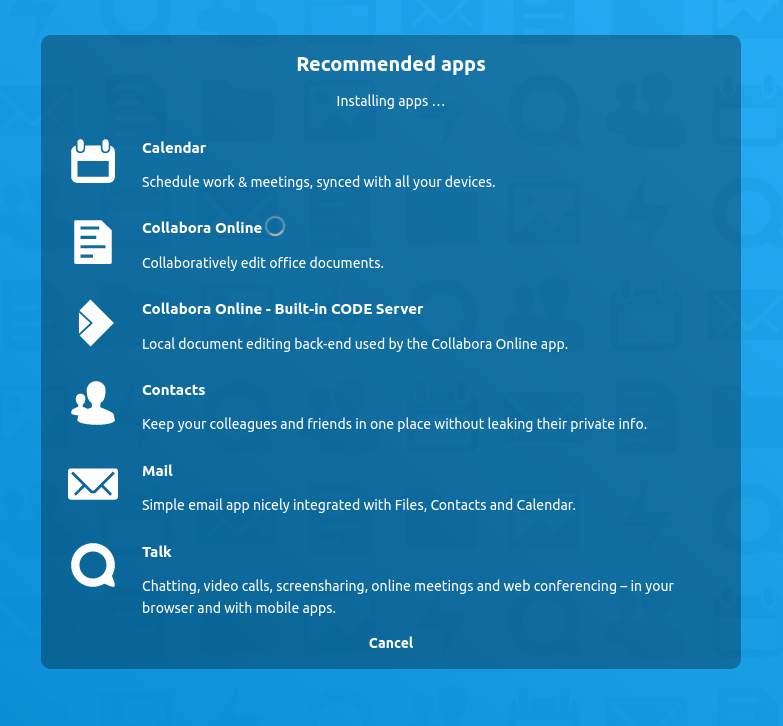
You should now see Nextcloud installing basic apps for usage.
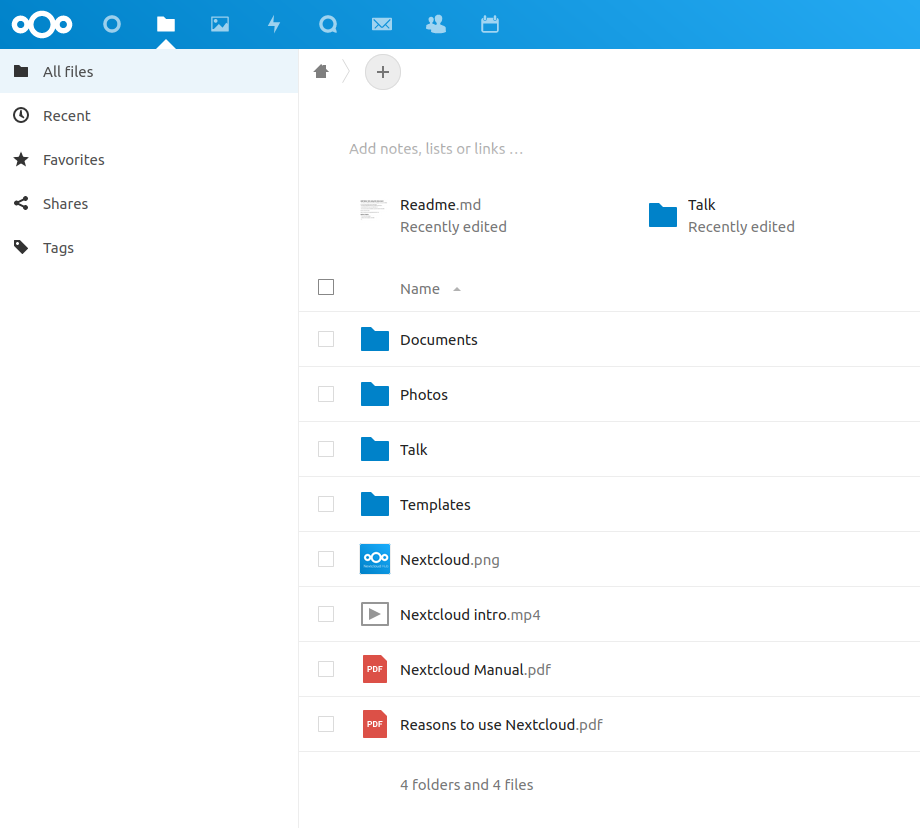
Once that is finished, you will load into the main dashboard where you can see the apps that were installed.
Nextcloud Basics
I will mainly be using Nextcloud for file sharing and storage so that’s what this post will focus on. In the top left corner of the screen you will see different apps to use.

The folder icon on the left is for files. We can click that to enter the file app to manage our files in our cloud.
On the next screen you will see the files that are there by default for the admin user. If you click the plus icon you can add folders or upload files. Top open a file just click it.
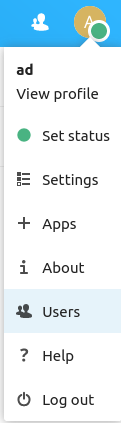
Creating Users
To add a user click in the top right on your profile icon and then click “Users”.
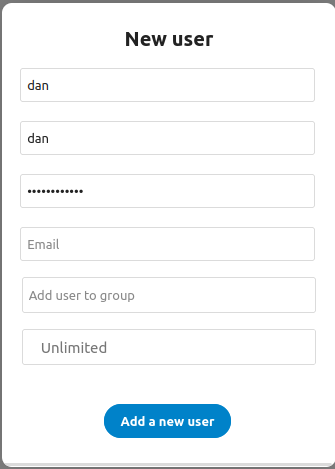
Then in the top left you can click “New User”.
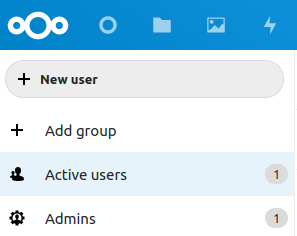
Then add in the information you want for the new user.
Creating Groups
On the same screen to add a user you can add a group by clicking add group.
Then add in the info you want for the group and click the right arrow.
File Shares
You can create shares by right clicking on folders and clicking “Share folder”.

Then you can specify what kind of access and copying a link to share with others.
It is important to note that if a user owns a share, it is deleted after they are removed from the system. You should create an account to make shares for groups.
SSL Setup
SSL is necessary if you are making the nextcloud instance available over public internet. I have some code here that will create a nextcloud server with SSL on port 8443. This code uses terraform to generate docker containers and ssl certificates. Follow the README to get that up and running.