Digital Ocean Static Site
Digital Ocean Static Site
My new setup on this site is something that really just works. This post is going to talk about how everything works together compared to my old website.
Old Site Setup
My old website we 100% wordpress. I had a wordpress site hosted by a company. This allowed for maximum uptime and for me to have a lot of prebuilt themes to help me. I also had a domain registered to point at the wordpress instance.
New Setup
The new setup uses github to store a private repository, hugo for building the webpages, and DigitalOcean to host. DigitalOcean runs Hugo to build the webpage whenever there are updates to the master branch and then hosts the built site. My domain points to this static site hosted at DigitalOcean.
Hugo
Hugo is what I use to generate my site from markdown files. For some documentation on Hugo please go to this page. I may do an article on Hugo in the future but I’m too new to it to make a decent post. Here are some basics though for how I develop my code.
Testing Code
To test code changes and check the generated pages you can run an interactive development server that reloads on file changes using the following command:
hugo server -D
The -D command says to include drafts. You can remove this if you don’t care about the drafts.
Building Website
Building the website requires only one command. I have this step run at DigitalOcean but if you needed to build yourself, this is the command:
hugo
GitHub Setup
For my setup I chose to have a private GitHub repository with my website name as the name for the Repository. You need to ensure you can reach the repository from your DigitalOcean account.
DigitalOcean
So this is where DigitalOcean shines. They offer the ability to host a free static site through one of their Apps. Let’s walk through how to set that up.
Step 1
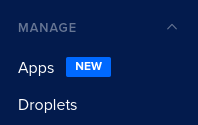
Start by logging into DigitalOcean and clicking on “Apps” on the left side of the screen.
Now click “Create App” in the top right of the screen. This will start the creation wizard for the new App we are creating.

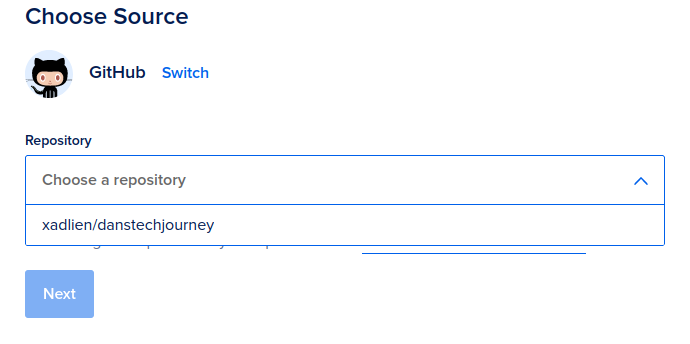
The source on the screen is for the App files. Mine came from GitHub so that’s what I’ll be clicking.
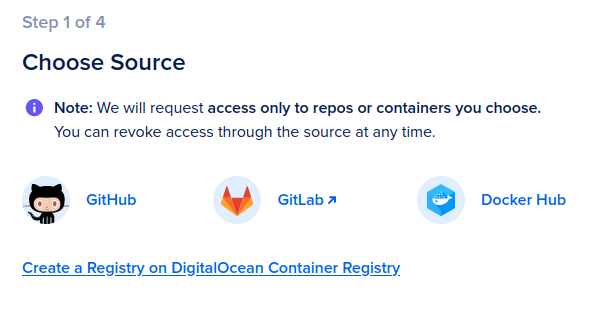
Choose the correct repository for the app where your code lives.
Step 2
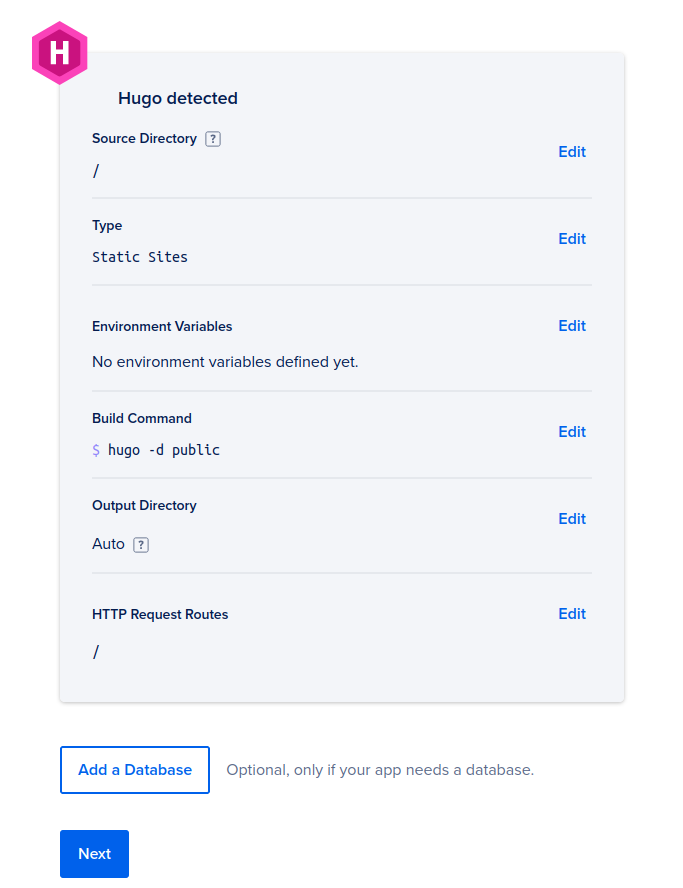
The second step is to configure the settings for the App. If you are using Hugo and the source files are at the root of the repository you won’t need to change anything for it to work out-of-the-box.
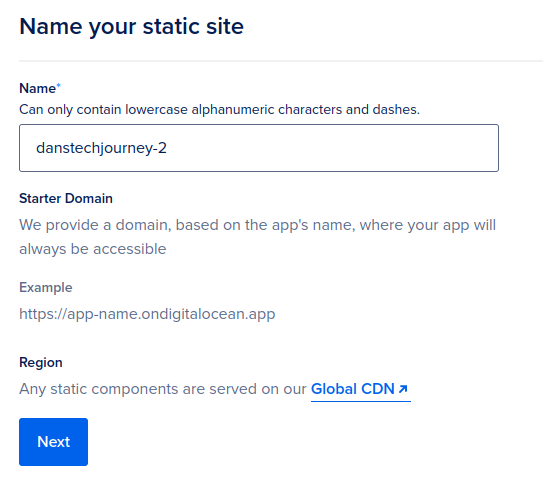
Step 3
Now we need to name the static site. I’m keeping the default since I’m not keeping this App.
Step 4
Finally we need to deploy it. On this last page we can choose our payment plan. You can have up to three free starter Apps and pay nothing. This is incredible for what I will be using it for. This will allow you to host a site for free on DigitalOcean’s Global CDN. So pick your plan and click “Launch Starter App”.
Domain Setup
The final change I made for my site was to add domain settings. I won’t go over the domain setup with cloudflare here, but I will walkthrough adding the domain to the App to allow for SSL from your domain.
If you need to set this up go to Apps > Your App Name > Settings > Domains > Edit from the dashboard home. From here you can click “Add Domain” and add in your own domain. This allows the site to have the correct SSL certs when you send people there who are using your actual webpage URL.
Conclusion
I can’t believe that DigitalOcean allows for three free starter Apps. I moved to this setup because the only thing I really am paying for now is the domain on Cloudflare.