Kasm Setup and Basics
Kasm Setup and Basics
This post is to go over something that I heard about recently called Kasm. This program allows you to host docker container as desktop environments remotely over a web browser for any number of users. I will be going over installation and basic usage.
Requirements
Everything in this section comes from the Kasm Documentation.
Server Requirements
- 2 CPU Cores
- 4 GB of RAM
- 50 GB of Storage preferably SSD
Client Requirements
- Chrome 49+
- Edge 14+
- Firefox 48+
- Internet Explorer 11
- Safari 11+
Server Installation
Download Install
Download the install from here.
After downloading unpack it.
# go to where you downloaded the archive.
cd ~/Downloads
tar -xvf kasm_release_1.10.0.238225.tar.gz
Run Install Script
cd kasm_release
bash install.sh
This install script will download necessary packages and container runtimes. It is recommended you allow this to run on a standalone server so the version of the packages are determined by the Kasm installer. You should see the admin credentials generated in the install window.
Installation Complete


Kasm UI Login Credentials

------------------------------------
  username: [email protected]
  password: txyzir1yIKj28
------------------------------------
  username: [email protected]
  password: DyNUw20zFnyeZ
------------------------------------

Kasm Database Credentials
------------------------------------
  username: kasmapp
  password: qiZOXpUqY2el9VxIGNza
------------------------------------

Kasm Redis Credentials
------------------------------------
  password: 3AOz2j5sdgx6ratunwmv
------------------------------------

Kasm Manager Token
------------------------------------
  password: 41rACuA6gKngHxQmAosz
------------------------------------
Basic Usage
First Login
The first login use the [email protected] user from above.
Use https://yourserverip using your own server’s/computer’s ip address.
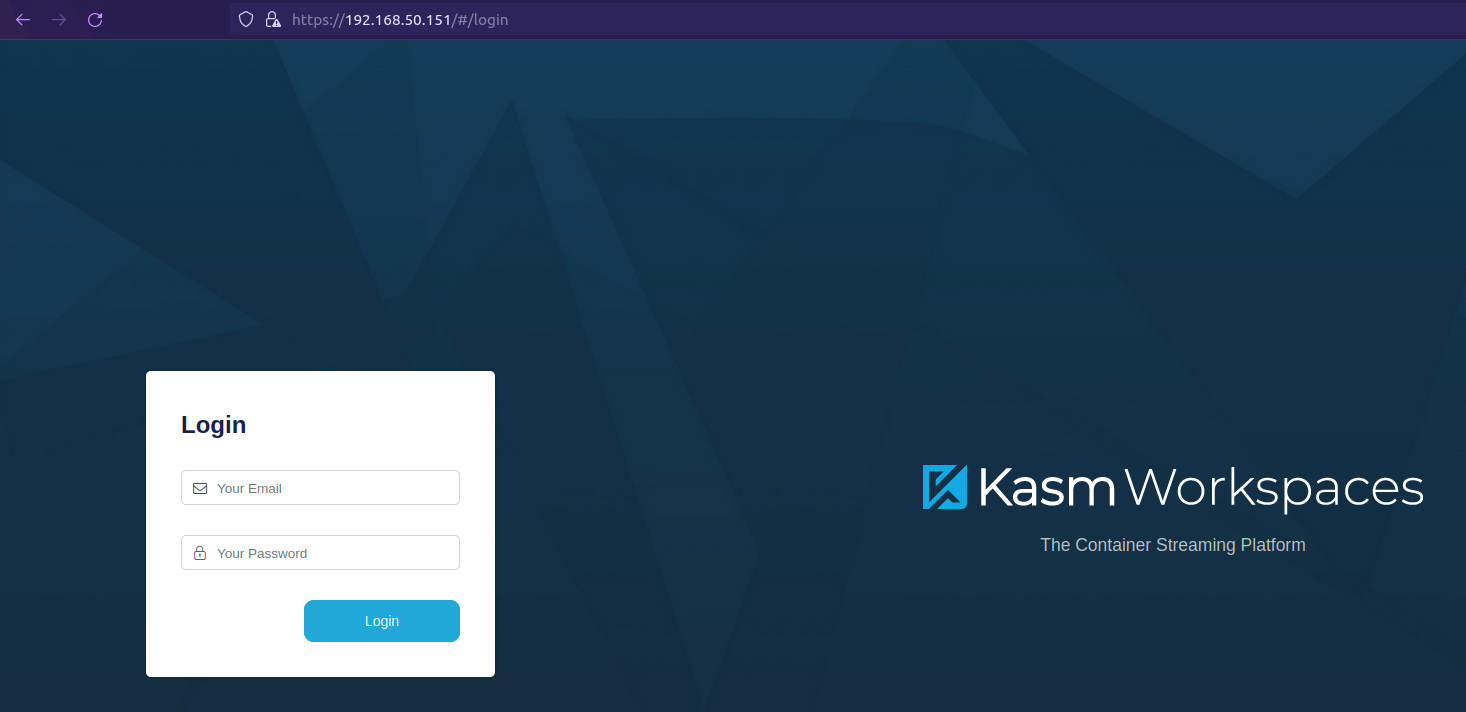
Launch First Session
On the main page in the top left you can see “Workspaces”. Let click that.
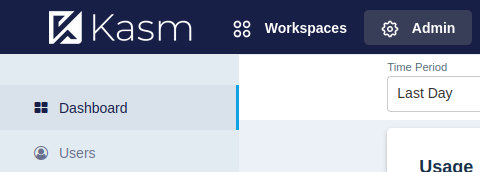
Now you can see the workspaces available. I’m going to test out a chromium session. After clicking a choice you will see the launch dialog.
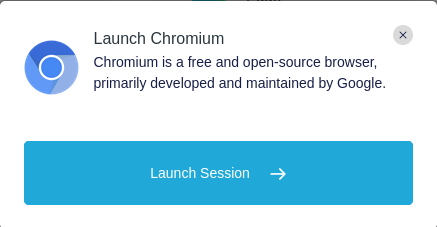
After clicking “Launch Session” you will have a chromium session open in your current browser. Here is the awesome part. This new browser is running on the server and not on your computer. You don’t need to install anything for this to run either. Any of the workspaces in Kasm will run without any client installs.
Leaving a Session
To leave the session just click back and you will see the active session you have on the right side.
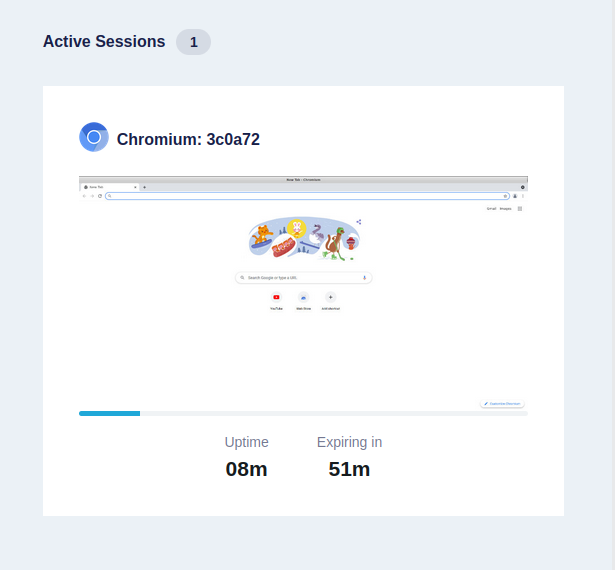
From here you can delete the session by mousing over and clicking “Delete”. Notice that these sessions will expire if not in use.
Streaming Sessions
You can stream sessions by adding a configuration for it under the streaming tab. This could be used to stream temporary sessions easily.

Session List
Sessions can be viewed under the session tab. This will show both your sessions and the sessions of other users on the system.

Adding Users
If you go under Users you can add new users to login to Kasm.
Gaming
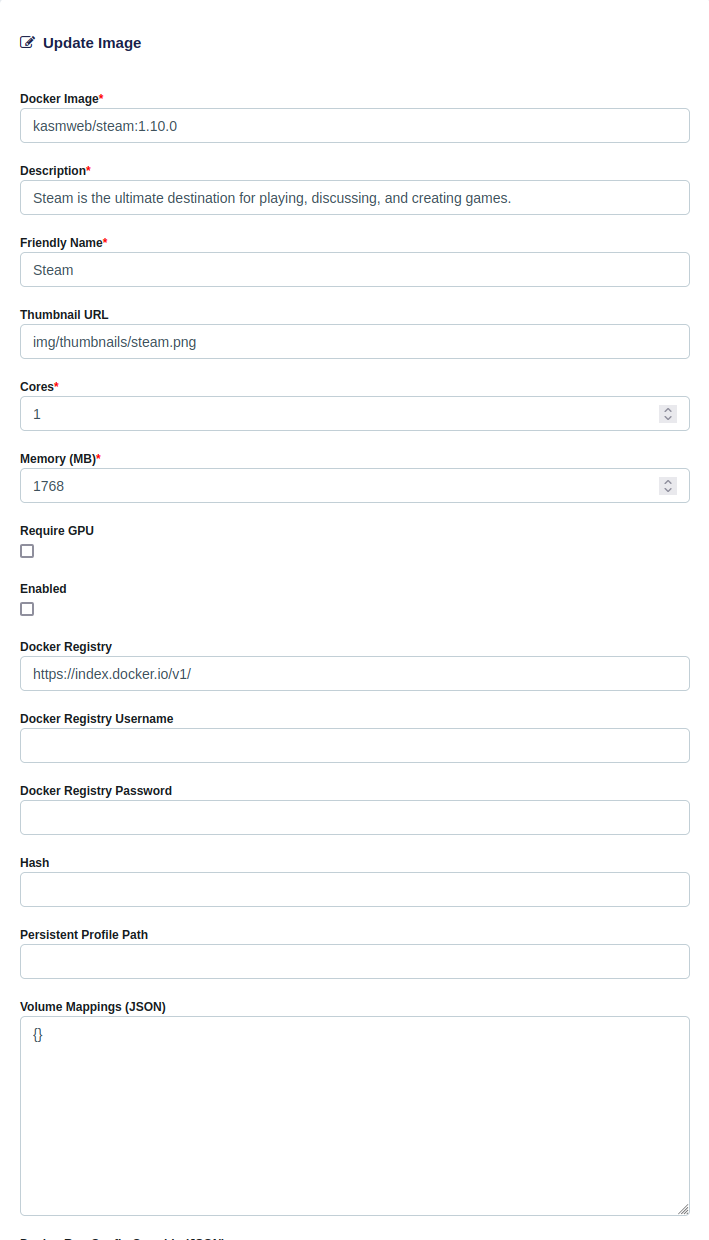
Something I found while working with Kasm is that there is a Steam image you can enable in the web interface.

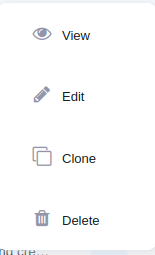
You can click to edit the image on the right.
From the edit menu we can enable the Steam image. Notice the ability to enable a GPU if you have one. This is incredible. What this means is when you start a session in Kasm on a server that has a GPU, it can be used to play videogames remotely. I have my Kasm server installed on a VM without a GPU. Adding it to my main desktop would allow for remote game playing from linux.
Conclusion
The ability to launch applications remotely from anywhere using a browser window is incredible. I may attempt to run steam games in this way to try out remote gaming from my laptop.