TrueNAS Intro
TrueNAS Core Intro
Description
In working on a project for a friend I needed to find a way to store lots data locally and safely. In looking for a solution I tried TrueNAS. TrueNAS Core is free and has a ton of good features I wanted to try. The documents my first run at trying out setting up TrueNAS Core.
Download
TrueNAS Core can be downloaded from this url.
Install OS
Install the OS on a VM. I will be using virt-manager. First I want to create the disk files required for a real test.
Create Disk Files
Create 10 disk files for use in TrueNAS.
for i in $(seq 10); do
  qemu-img create -f qcow2 pool$i.qcow2 100G
done
Create the VM
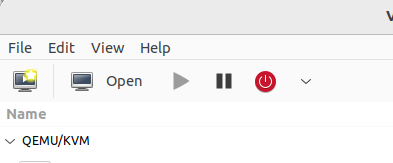
Launch virt-manager and click “Create New Virtual Machine” button.
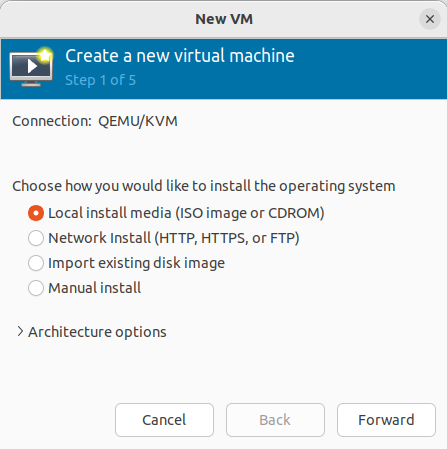
Then select “Local Install Media” and click “Forward”
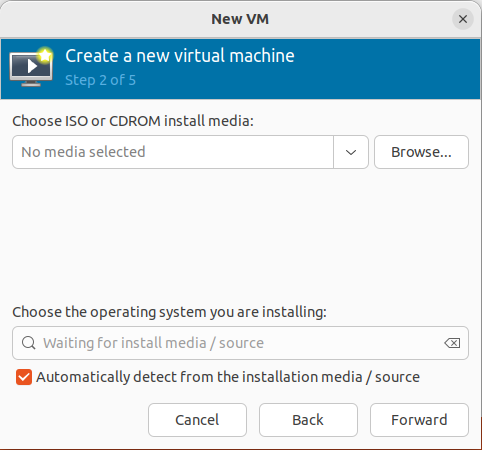
Click “Browse” and select the iso you downloaded earlier.
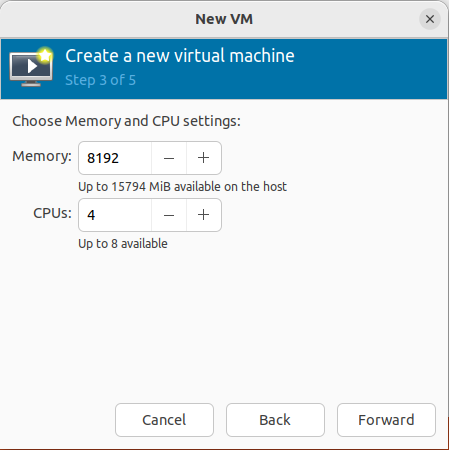
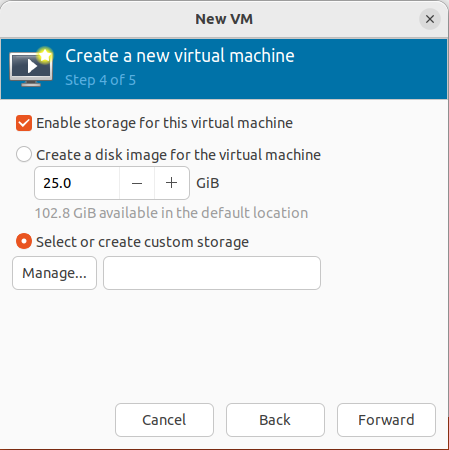
Then set resources for the VM. I’ll use 4 cores with 8GB of RAM.
Now select “select or create custom image” and browse for the first disk file you created.
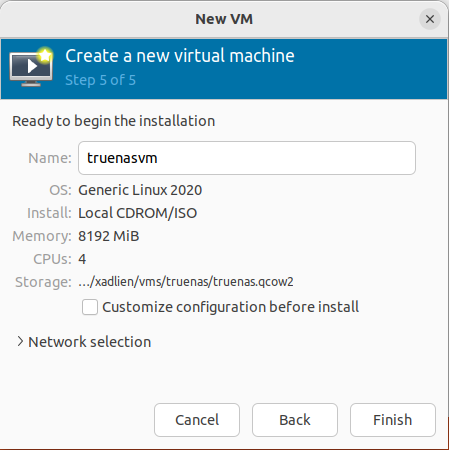
Now name the VM what you want and before you go to the next screen click “Network Selection”.
Select Bridge Device and name it virbr0.
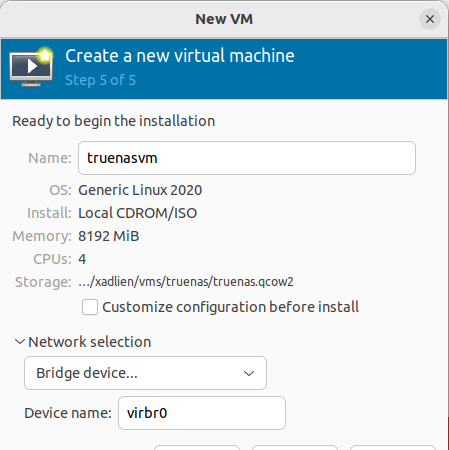
Now click “Finish”.
Attach Drives
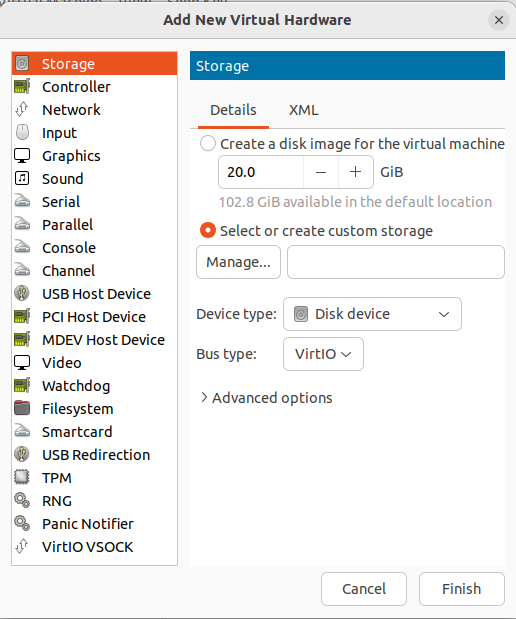
We need to attach the drives we created in two steps prior. To attach these run through these steps for each disk file that isn’t attached. This first screen we will click “Add Hardware”.
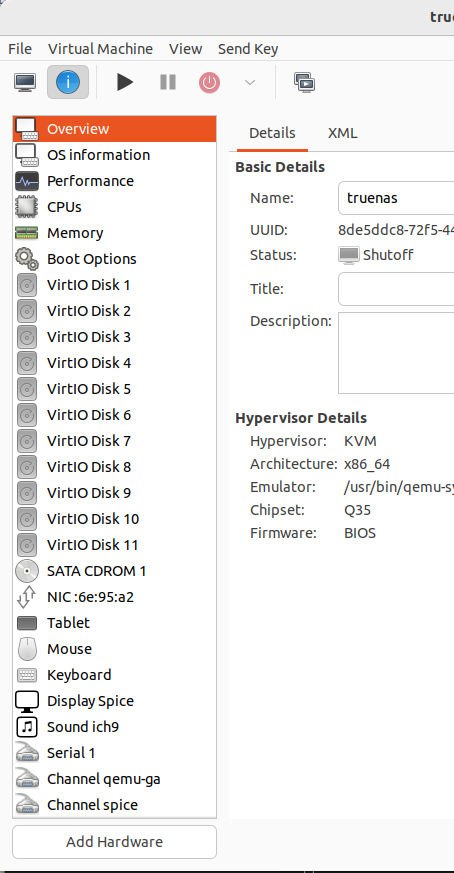
Then click “Storage” then “Manage”. This will allow us to select the correct drive to add.
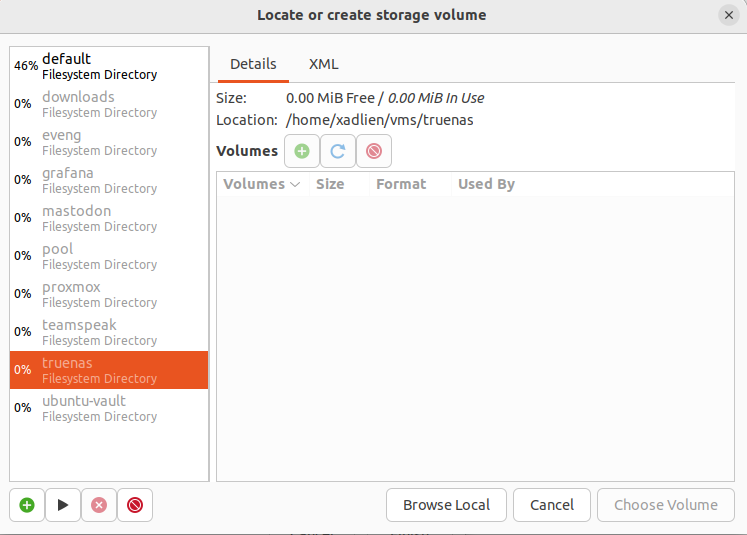
Now click “Browse Local” and select the disk file you created. Remember to do these steps to every drive file.
Install on VM
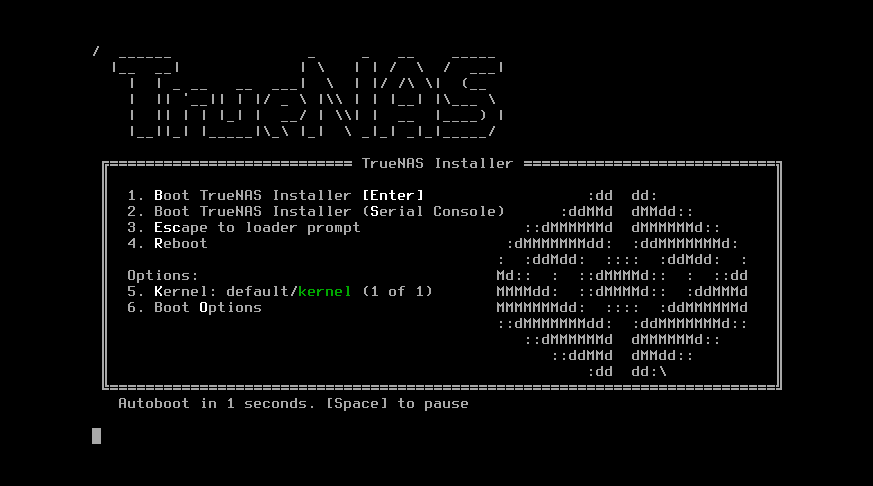
Follow prompts and install the OS after the first start up. On this screen press “Enter” to boot the installer.
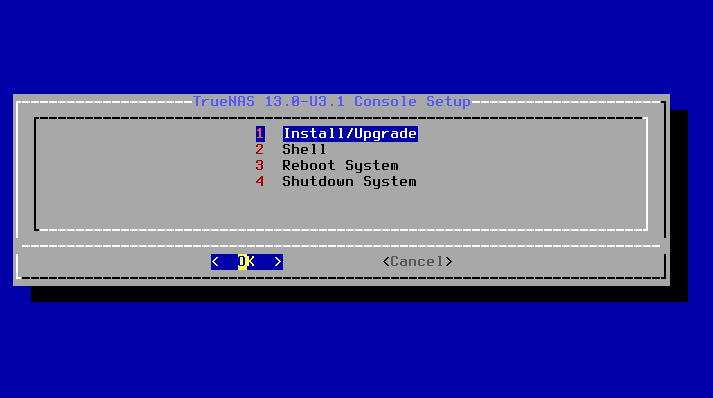
Choose “Install/Upgrade”.
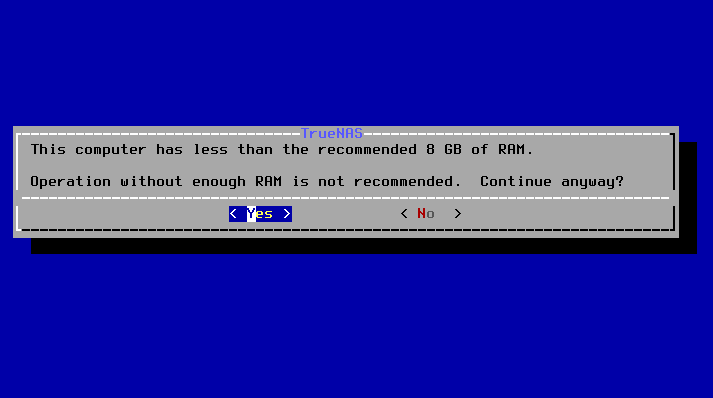
In my case the test machine has less the the recommended 8GB of RAM. I’m just going to continue anyway.
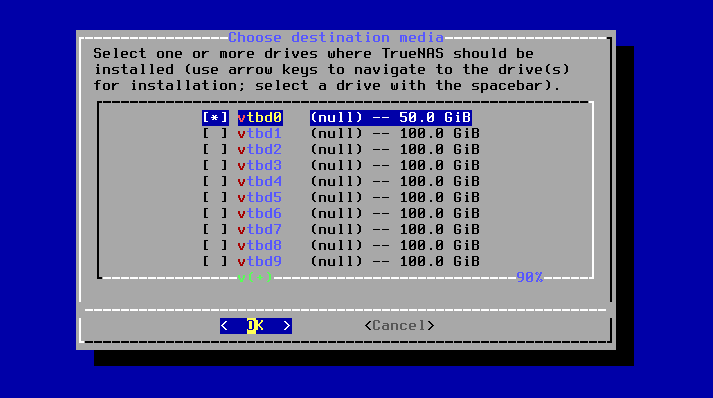
Select the first disk you have to install the OS on. This will be our boot drive. The rest of these drives will be used for our storage pools.
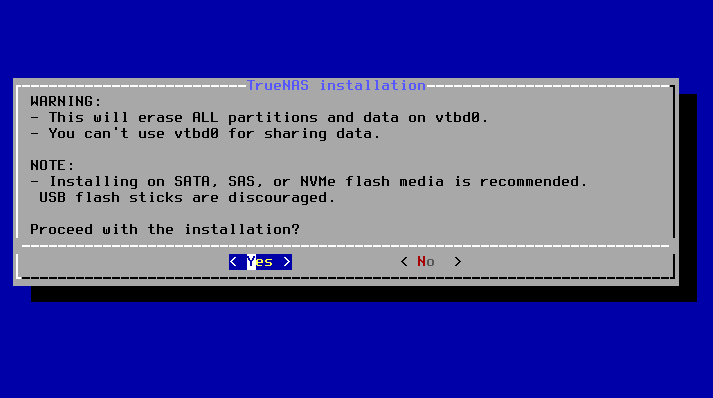
Then proceed with the installation.
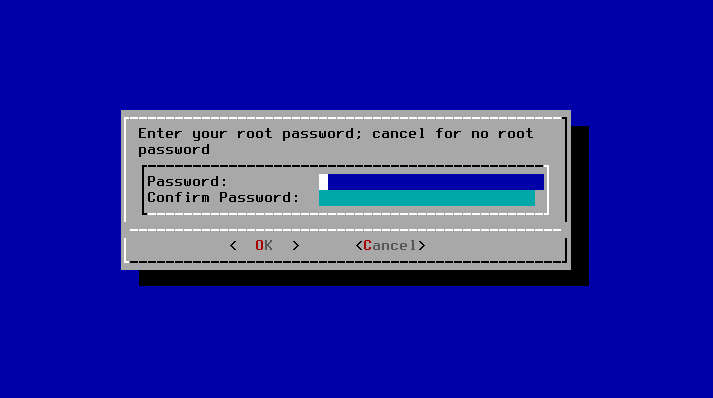
This next screen allows you to set the root password. You’ll need this to sign in later. Choose whatever works for you, unless this is internet facing, then choose something good.
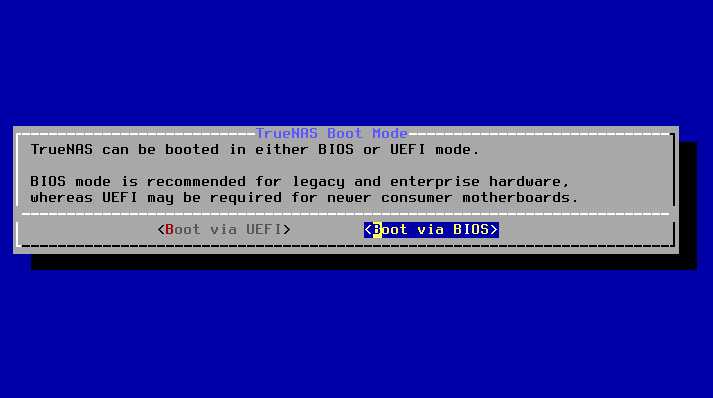
For booting selection I will be selecting BIOS for my system.
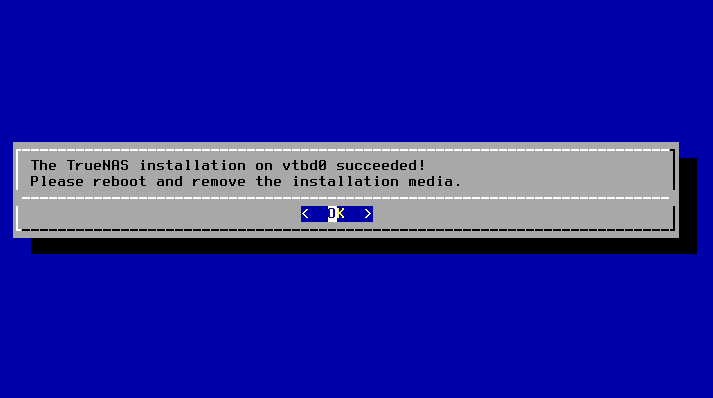
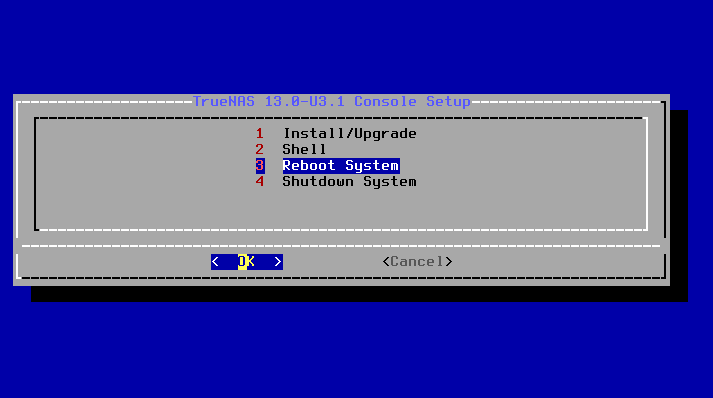
From here we just need to reboot.
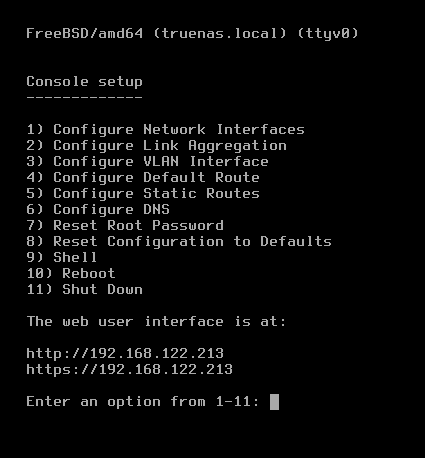
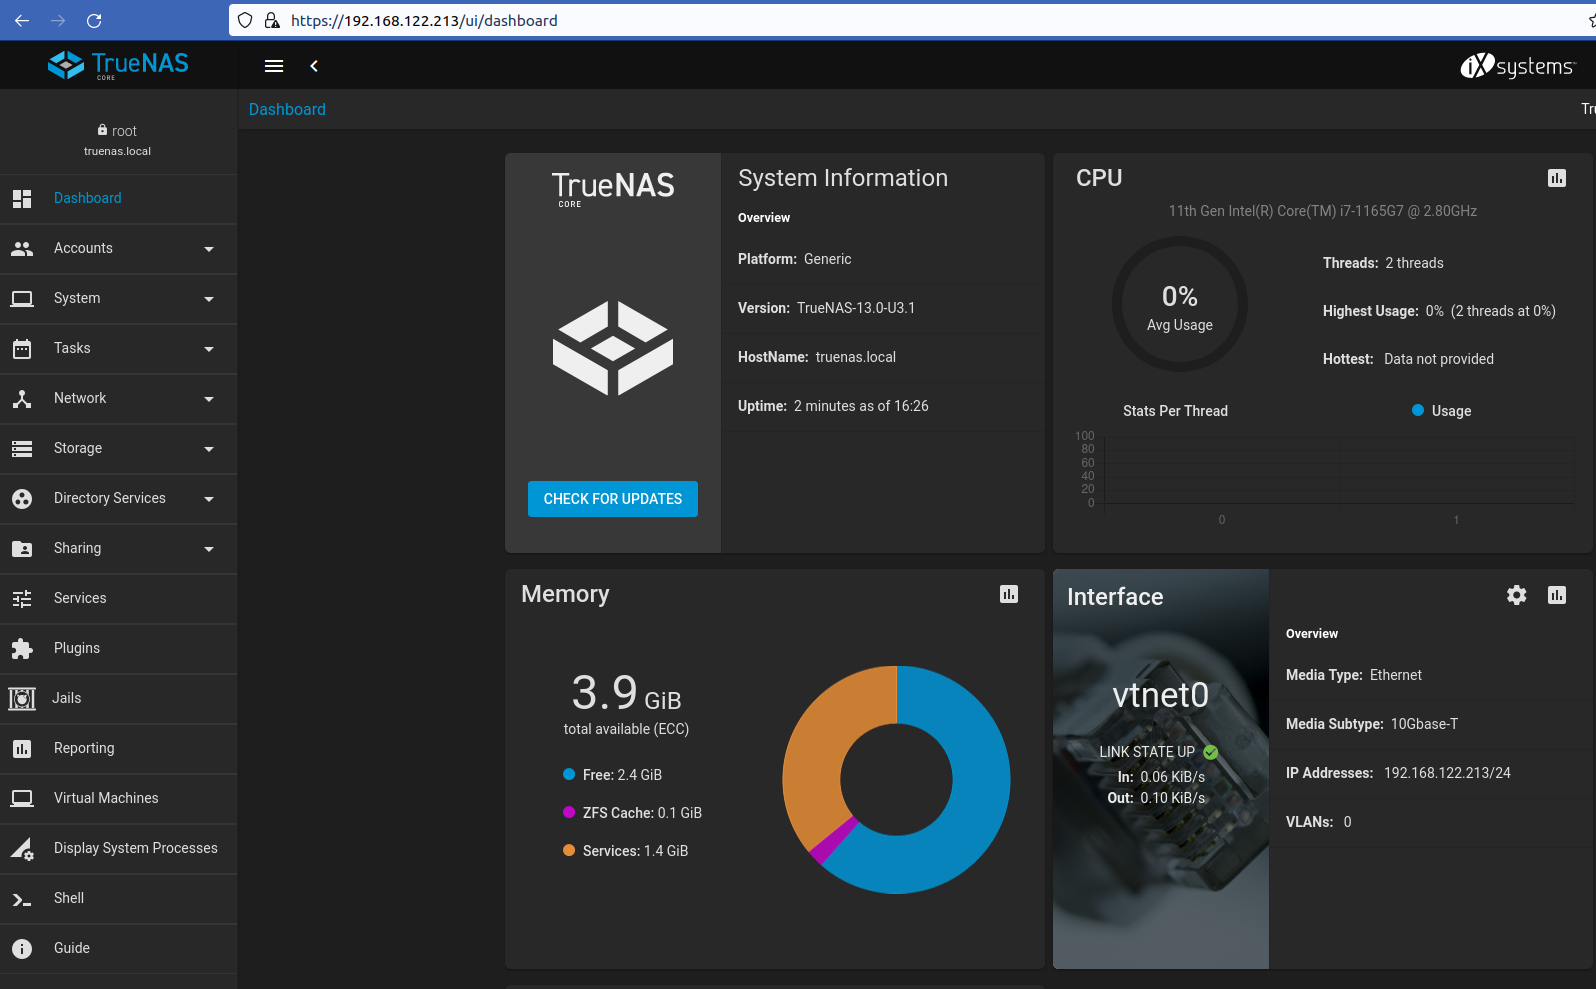
Finally we get the screen showing our TrueNAS up and running. Note the address shown as that is what we will be using to connect to the web interface.
First Connection
Using the url I recieved in the last step I can get to the login page and login using the user root and password that I set earlier. This should bring you to the first screen for TrueNAS.
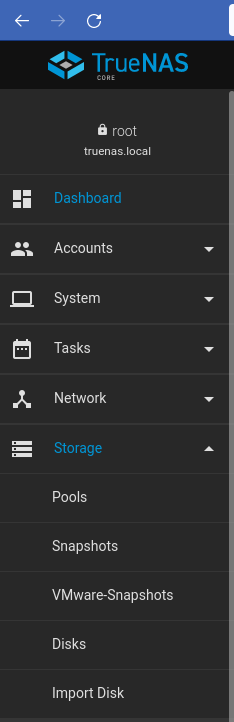
Create Storage Pool
In TrueNAS we will need a storage pool to create a file share on our network. I want to use SMB as that will be most usable by everyone that needs access to the share. I’m going to want to use every HDD I connected for this storage pool since my use case is very straightforward. In your case you may need to use some drives for one use case and others for another. To create the storage pool click on Storage > Pools.
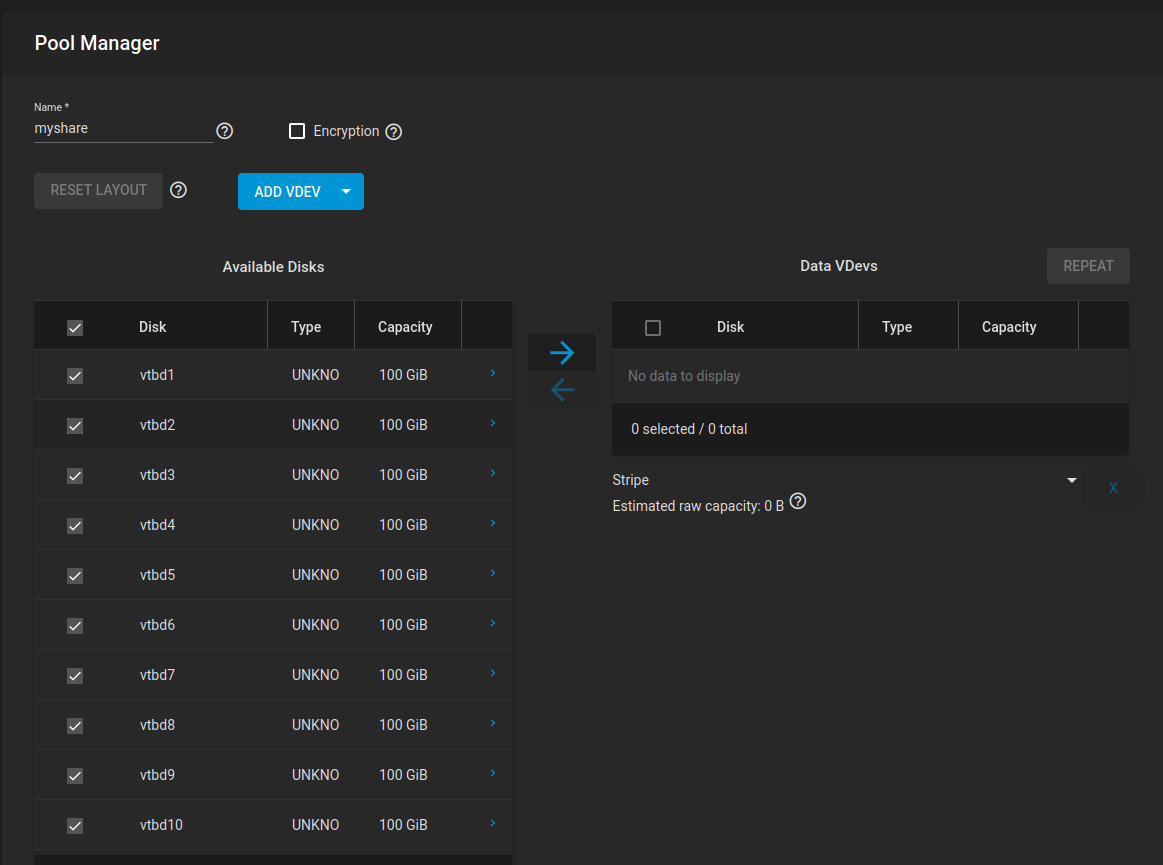
Here we want to select ADD > CREATE POOL. This next screen will be configuring the new storage pool. We name it and select the disks we want to use. I select all of them and click the > button to add them.
Then after the disks are added check the raid configuration underneath the disk names. I will leave mine as Raid-z3 but you can choose anything that meets your needs. Be careful to not choose stripe unless you know that’s what you need.
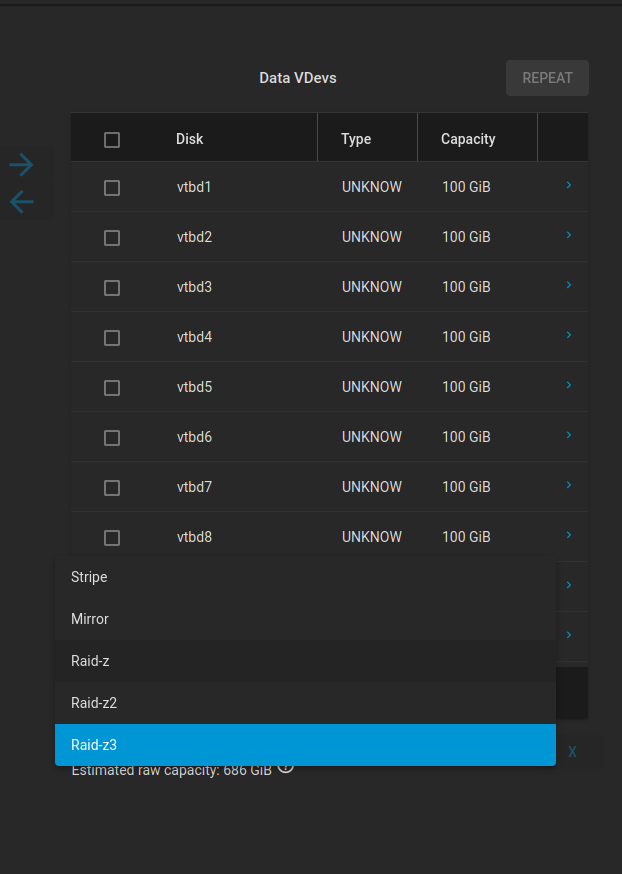
Finally click ‘Create’ and the storage pool will be created.
Create User Accounts for SMB
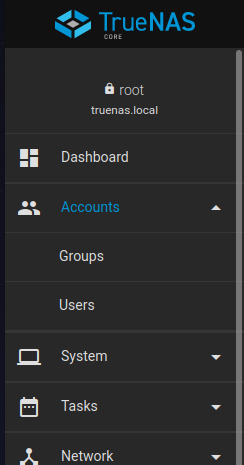
SMB shares require non-root user accounts to function. For this example I will be creating accounts for two users using local authentication. To look at user accounts we need to select Accounts > Users.
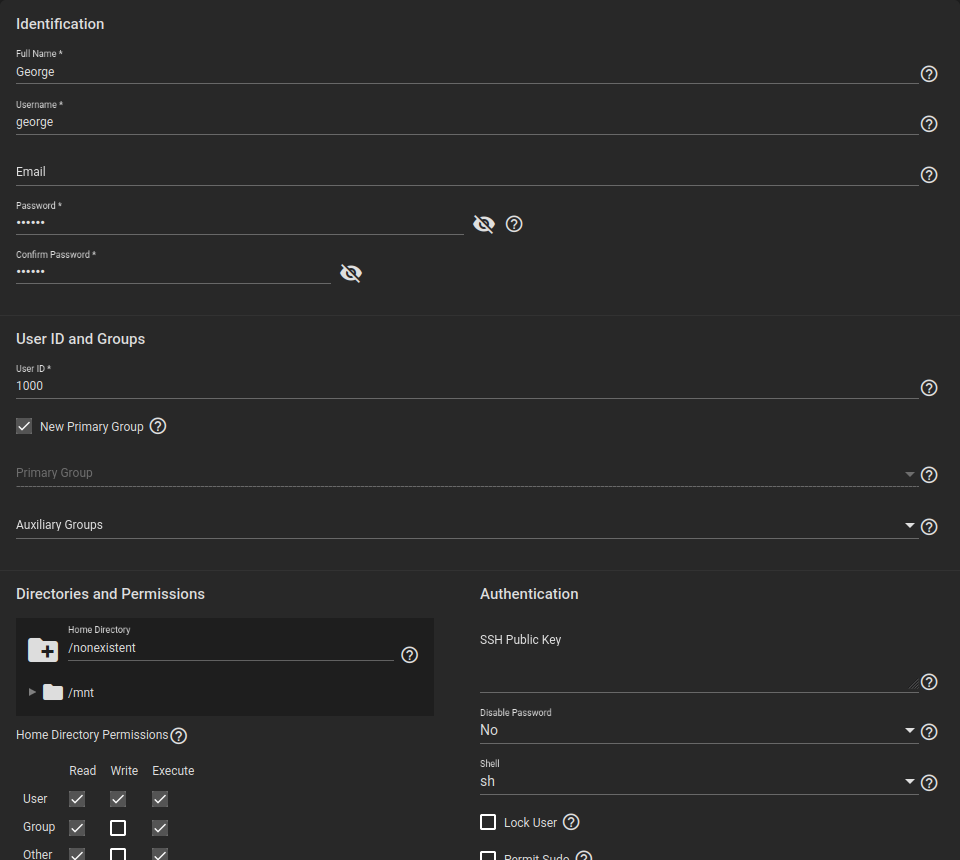
Click ‘ADD’. This next screen allows you to fill out info for the new user. I just fill in Name/Username and password. The rest works for me. When Done click ‘Submit’ on the bottom.
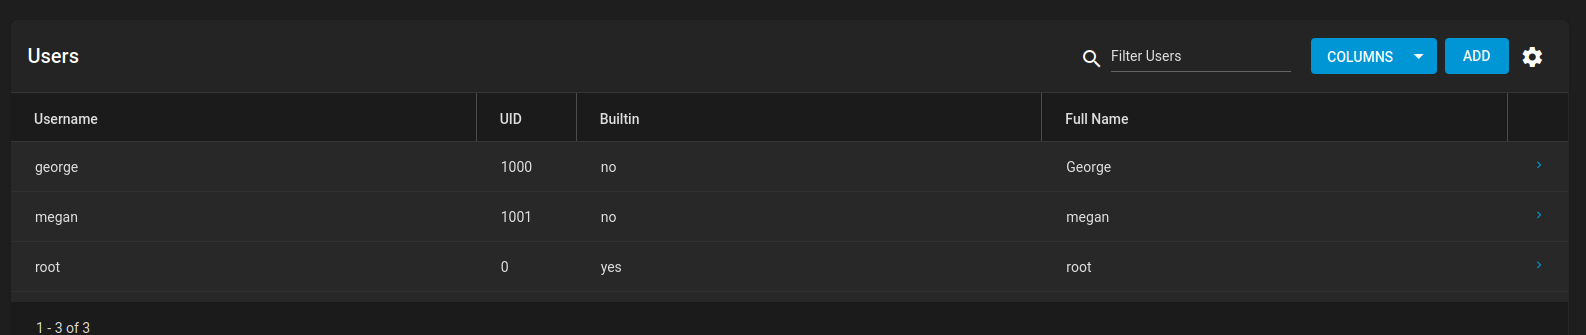
After doing this for both users they can be seen on the User screen.
Create the SMB Share
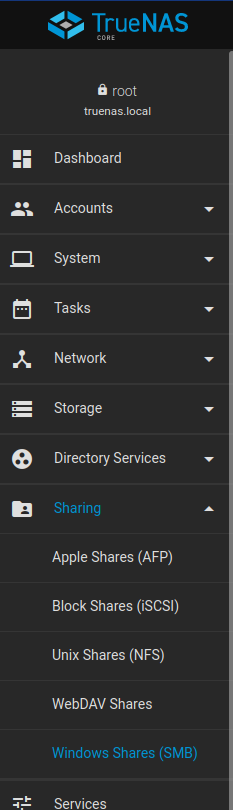
Finally we can create the SMB share. In this example I want George to have full rights on the share, but Megan should only be able to read the data. First thing we need to do is view the current shares. Go to Sharing > Windows Shares (SMB).
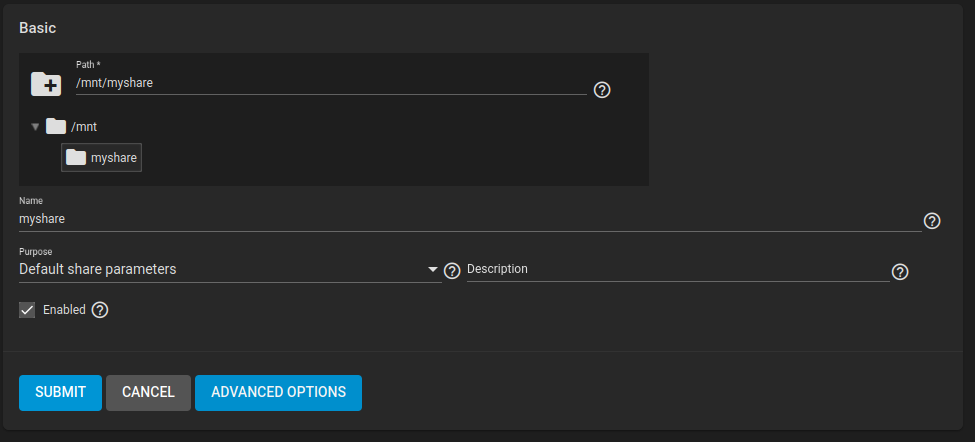
From here click ‘ADD’. Then on the directory selection go under /mnt to the name of the storage pool you created. Then click ‘SUBMIT’. If it asks if this should be enabled click ‘ENABLE’.
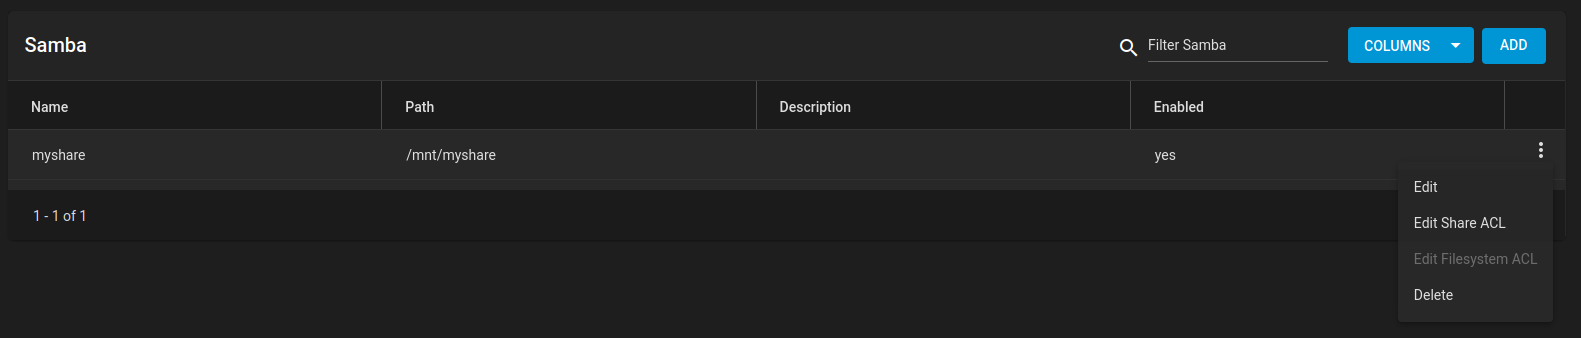
Now it should appear on the share screen. Now we need to add permissions to the share. Click the three dots to the right of the share name you created and click ‘Edit Share ACL’.
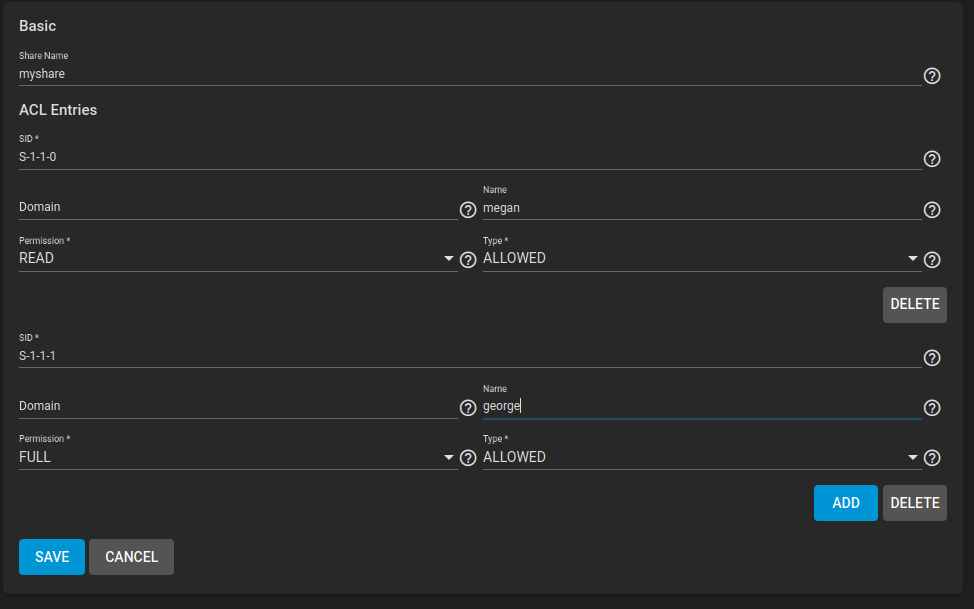
The first ACL I am adding is Megan’s read only access which is shown here. You can change the level of access by clicking on the Permission value. Then I need to add one more permission so I click ‘ADD’ to add in George’s FULL permission entry.
Connection Test
To test this setup using Megan and George’s accounts we need to use smbclient on the command line. Using George’s credentials we created:
xadlien@swift3x:~$ smbclient //192.168.122.213/myshare -U george
Password for [WORKGROUP\george]:
Try "help" to get a list of possible commands.
smb: \> put test.txt
putting file test.txt as \test.txt (0.0 kb/s) (average 0.0 kb/s)
smb: \>
Notice George can create files. What about Megan?
xadlien@swift3x:~$ smbclient //192.168.122.213/myshare -U megan
Password for [WORKGROUP\megan]:
Try "help" to get a list of possible commands.
smb: \> ls
  .                                   D        0  Fri Dec  2 21:40:01 2022
  ..                                  D        0  Fri Dec  2 21:31:57 2022
  test.txt                            A        0  Fri Dec  2 21:40:01 2022

		660456184 blocks of size 1024. 660455929 blocks available
smb: \> get test.txt
getting file \test.txt of size 0 as test.txt (0.0 KiloBytes/sec) (average 0.0 KiloBytes/sec)
smb: \> put test.txt
NT_STATUS_ACCESS_DENIED opening remote file \test.txt
This works for our use case.
Final Words
This was just my first run through. You may need to edit permissions on the filesystem to get smb commands to work with your share. I will definitely be using TrueNAS Core in the future. There may be more posts on it soon.