Proxmox VirtualBox Setup
Proxmox is a great hypervisor to learn on. I am unable to have a dedicated bare metal server for it, but found an amazing way to create it in a VM.
Steps
Download ISO
You can find the ISO for proxmox on their website here:
https://www.proxmox.com/en/downloads/category/iso-images-pve
Define VM
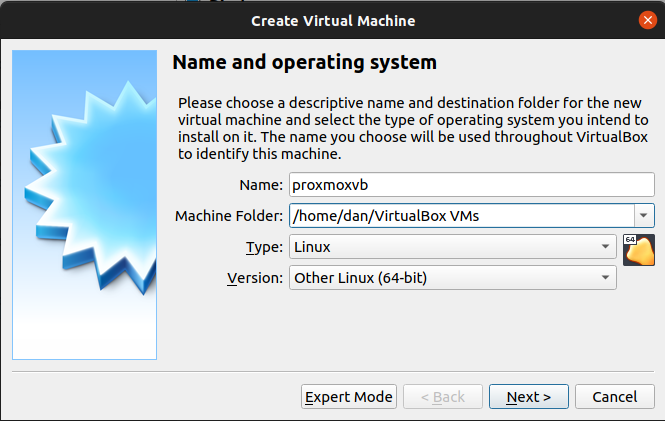
In VirtualBox click “New”

Then name the machine however you like. I will be using “proxmoxvb”. I set it to Linux, Other Linux (64-bit) since Proxmox isn’t in the drop down.
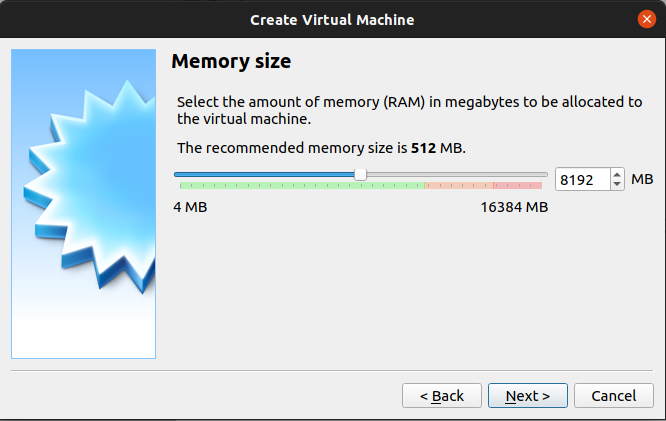
Next choose memory. Keep in mind that the VMs inside proxmoxvb will be sharing it and will benefit from more. I will be using 8GB.
Then create a new Hard disk for this VM.
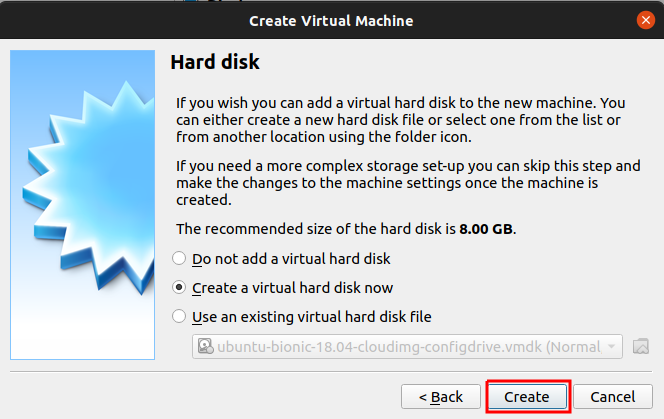
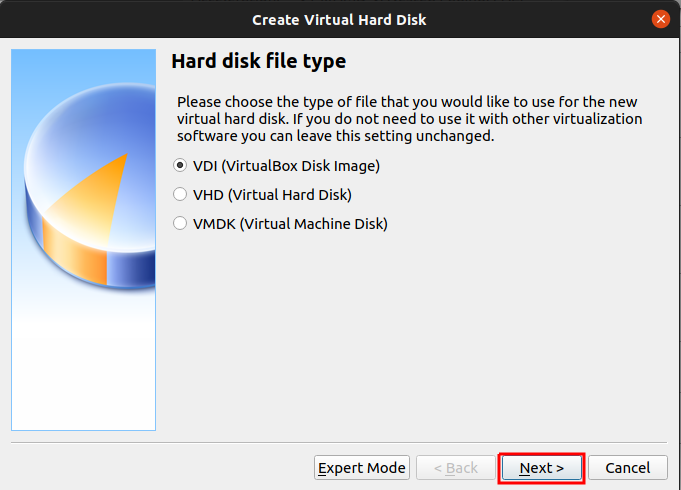
You can use any of the below options. I prefer VDI because I only use VirtualBox.
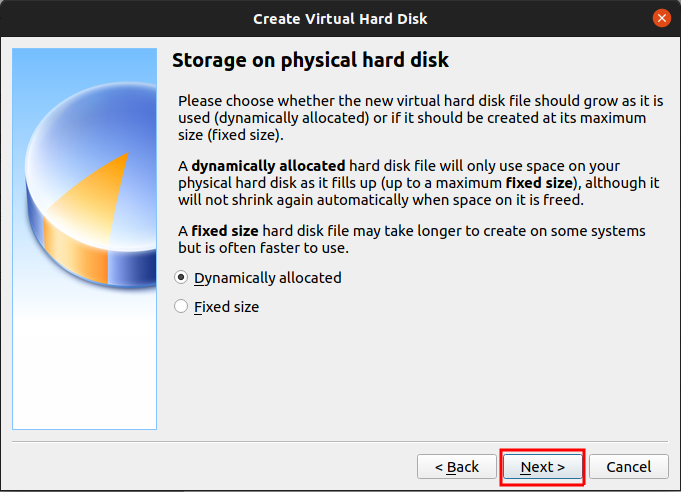
I choose dynamic so I don’t fill up my whole drive quickly.
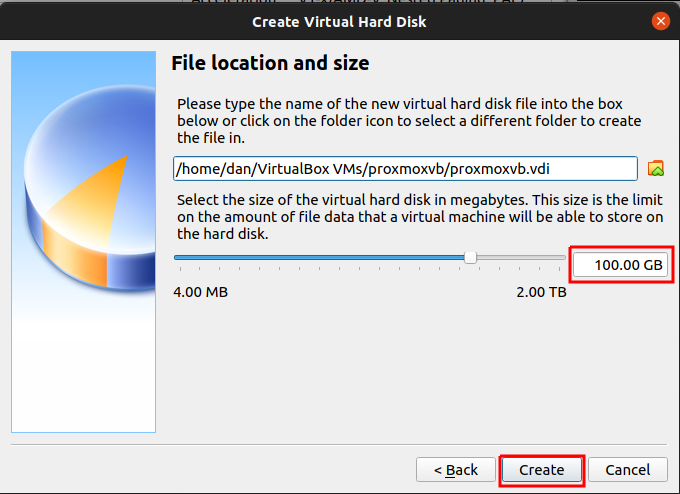
Here you need to allocate space. Remember that Proxmox will share this space will all of it’s child VMs.
Configure VM
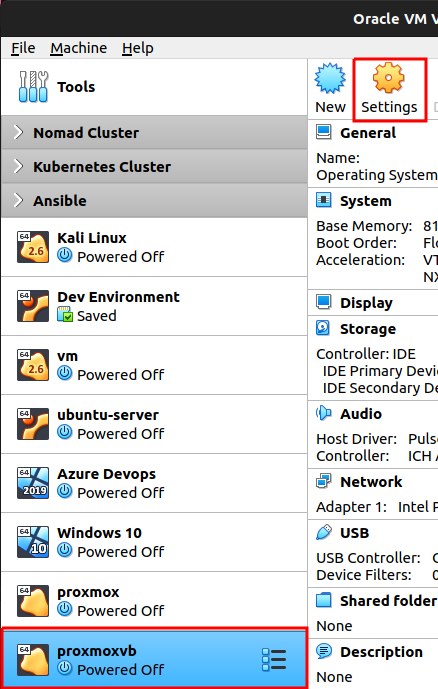
Now we need to edit some of the VM settings. Click on your new VM and then click “Settings”.
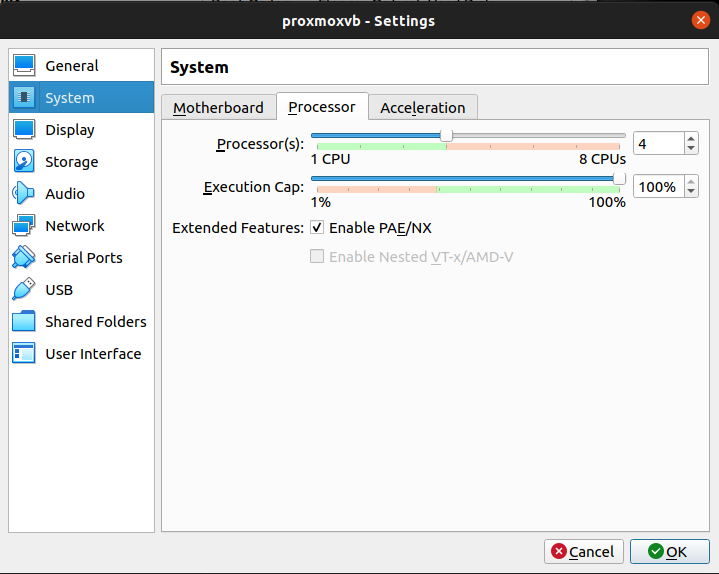
Add some processors to the VM. Like before, remember that Proxmox will be sharing this will all of the VMs it creates so more is better.
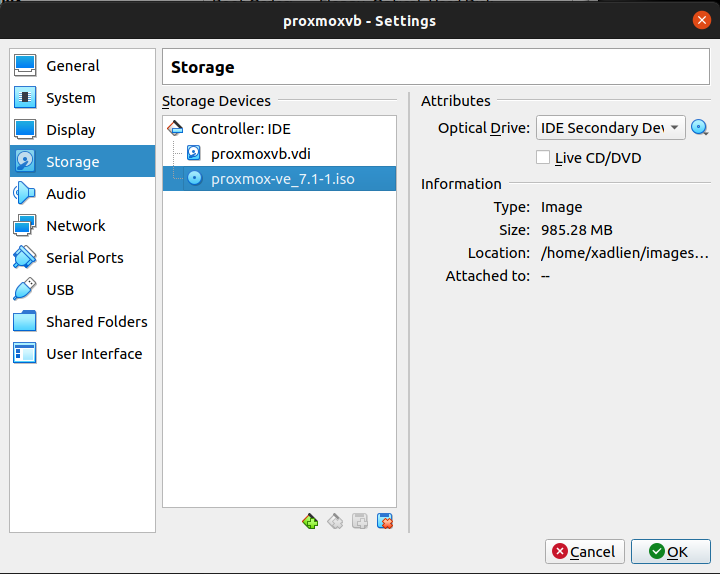
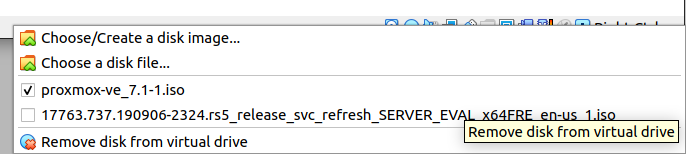
Add the ISO file you downloaded to the CD/DVD drive on the new VM.
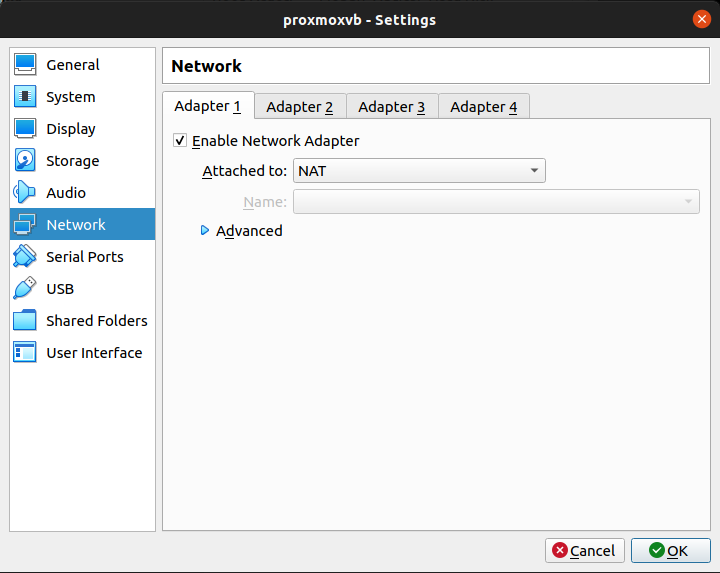
The first network adapter needs to be NAT for network access.
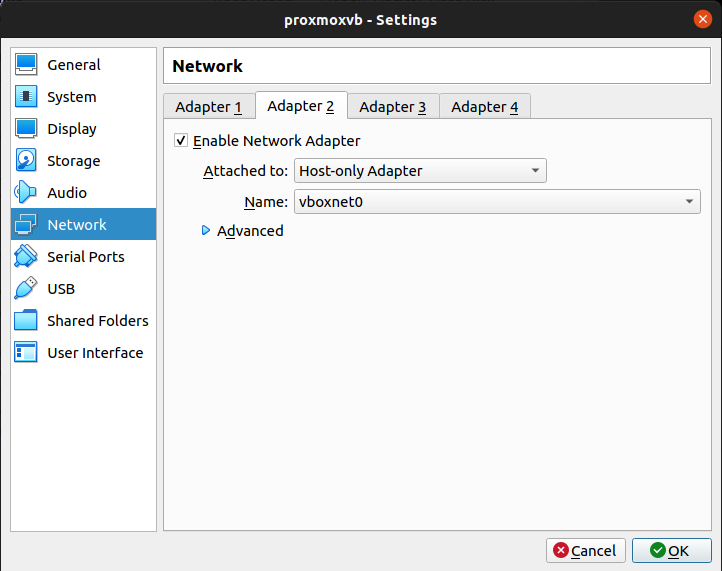
Add a second network adapter that is “Host-only” so that we can reach this machine from our host computer. We can also get to all of the guest VMs on proxmox using this method.
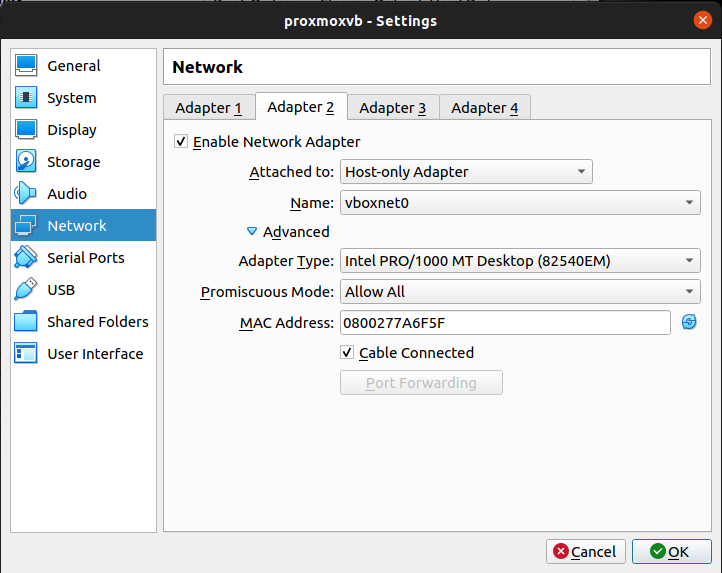
Ensure Promiscuous Mode is set to “Allow All” for the Host-only adapter. This is for VM connectivity from Proxmox child VMs to our own computer.
Finally, we need to enable nested virtualization. I wasn’t able to do this in the UI so I ran a command in terminal.
vboxmanage modifyvm proxmoxvb --nested-hw-virt on
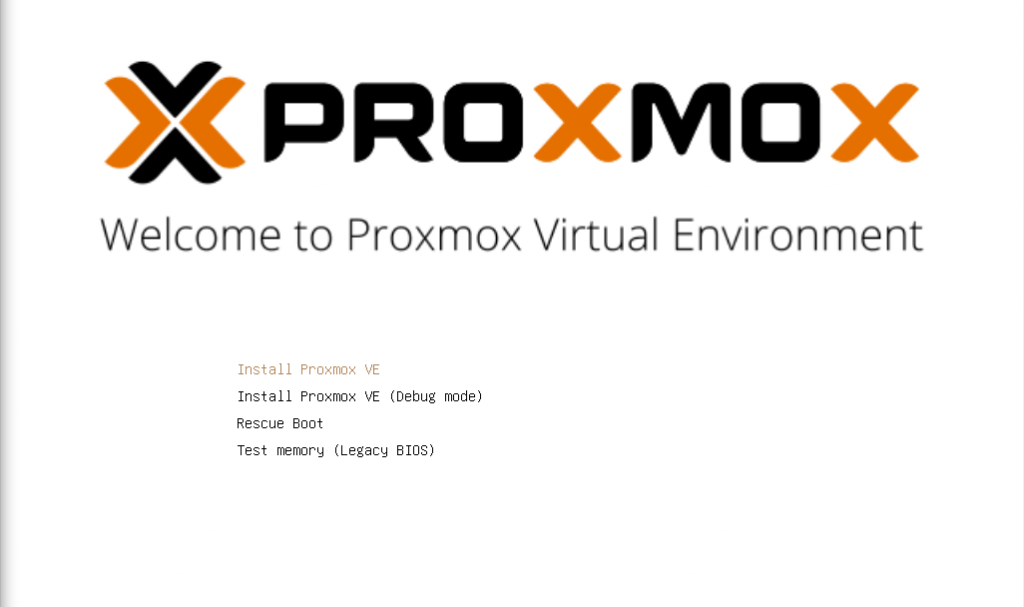
Install Proxmox
Start up the VM and begin the install process.
On the next page click “I agree”.
For this next page we are choosing the disk to install to. There should only be one to choose from. Click “Next”.

Setup your timezone and then click “Next”.

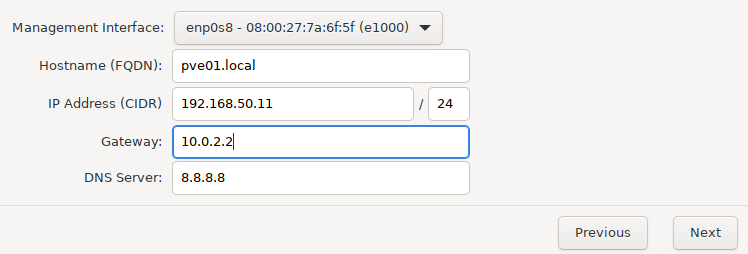
This is where the network setup is done. For our purposes, we need to use the second interface. Set the IP address like below. The gateway is required here but will be changed later. For DNS I use the google DNS server. After this is setup click “Next”.
Click “Install” if the settings look good. Double check the table provided.
After the installation remove the ISO file from the virtual machine and restart.
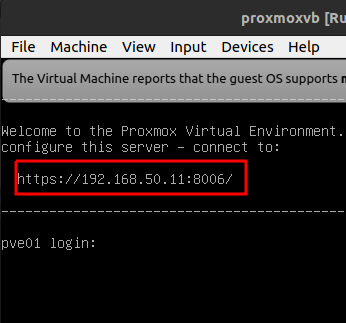
After the reboot you will see the IP address that you can reach the PVE server.
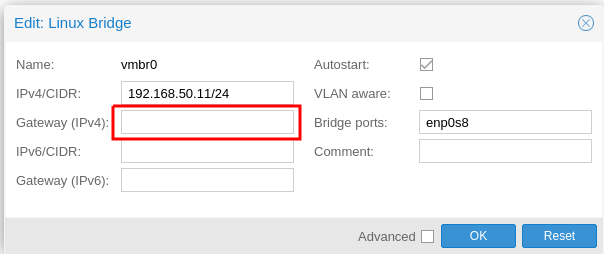
Login on that page with the root credentials you created. Then click on the hostname for your server on the left side, and then click “Network”. Here we need to do two things. The first is remove the gateway from vmbr0. This remove the default route to be sent to the Host-only network.
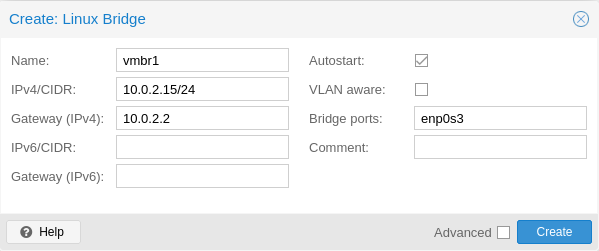
Now we need to create a new bridge to enp0s3 with the gateway from before. This sets up the internet connectivity.
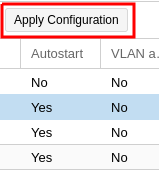
Now apply the configuration and Proxmox will setup the network.
This is a screenshot of my final configuration.

For VMs in Proxmox you can add both bridges and have connectivity from your host computer, and have internet access.
- vmbr0 is for host connectivity
- vmbr1 is for internet connectivity
Bonus Netplan Configuration
Here is a netplan configuration that will work in this environment to allow for both interfaces.
- ens19 is the vmbr1 bridge
- ens18 is the vmbr0 bridge
network:
  ethernets:
    ens19:
      addresses:
      - 10.0.2.16/24
      gateway4: 10.0.2.2
      nameservers:
        addresses:
        - 8.8.8.8
        - 8.8.4.4
    ens18:
      addresses:
      - 192.168.50.200/24
  version: 2